5 steps to integrating and modifying your subtitles in Adobe Premiere Pro
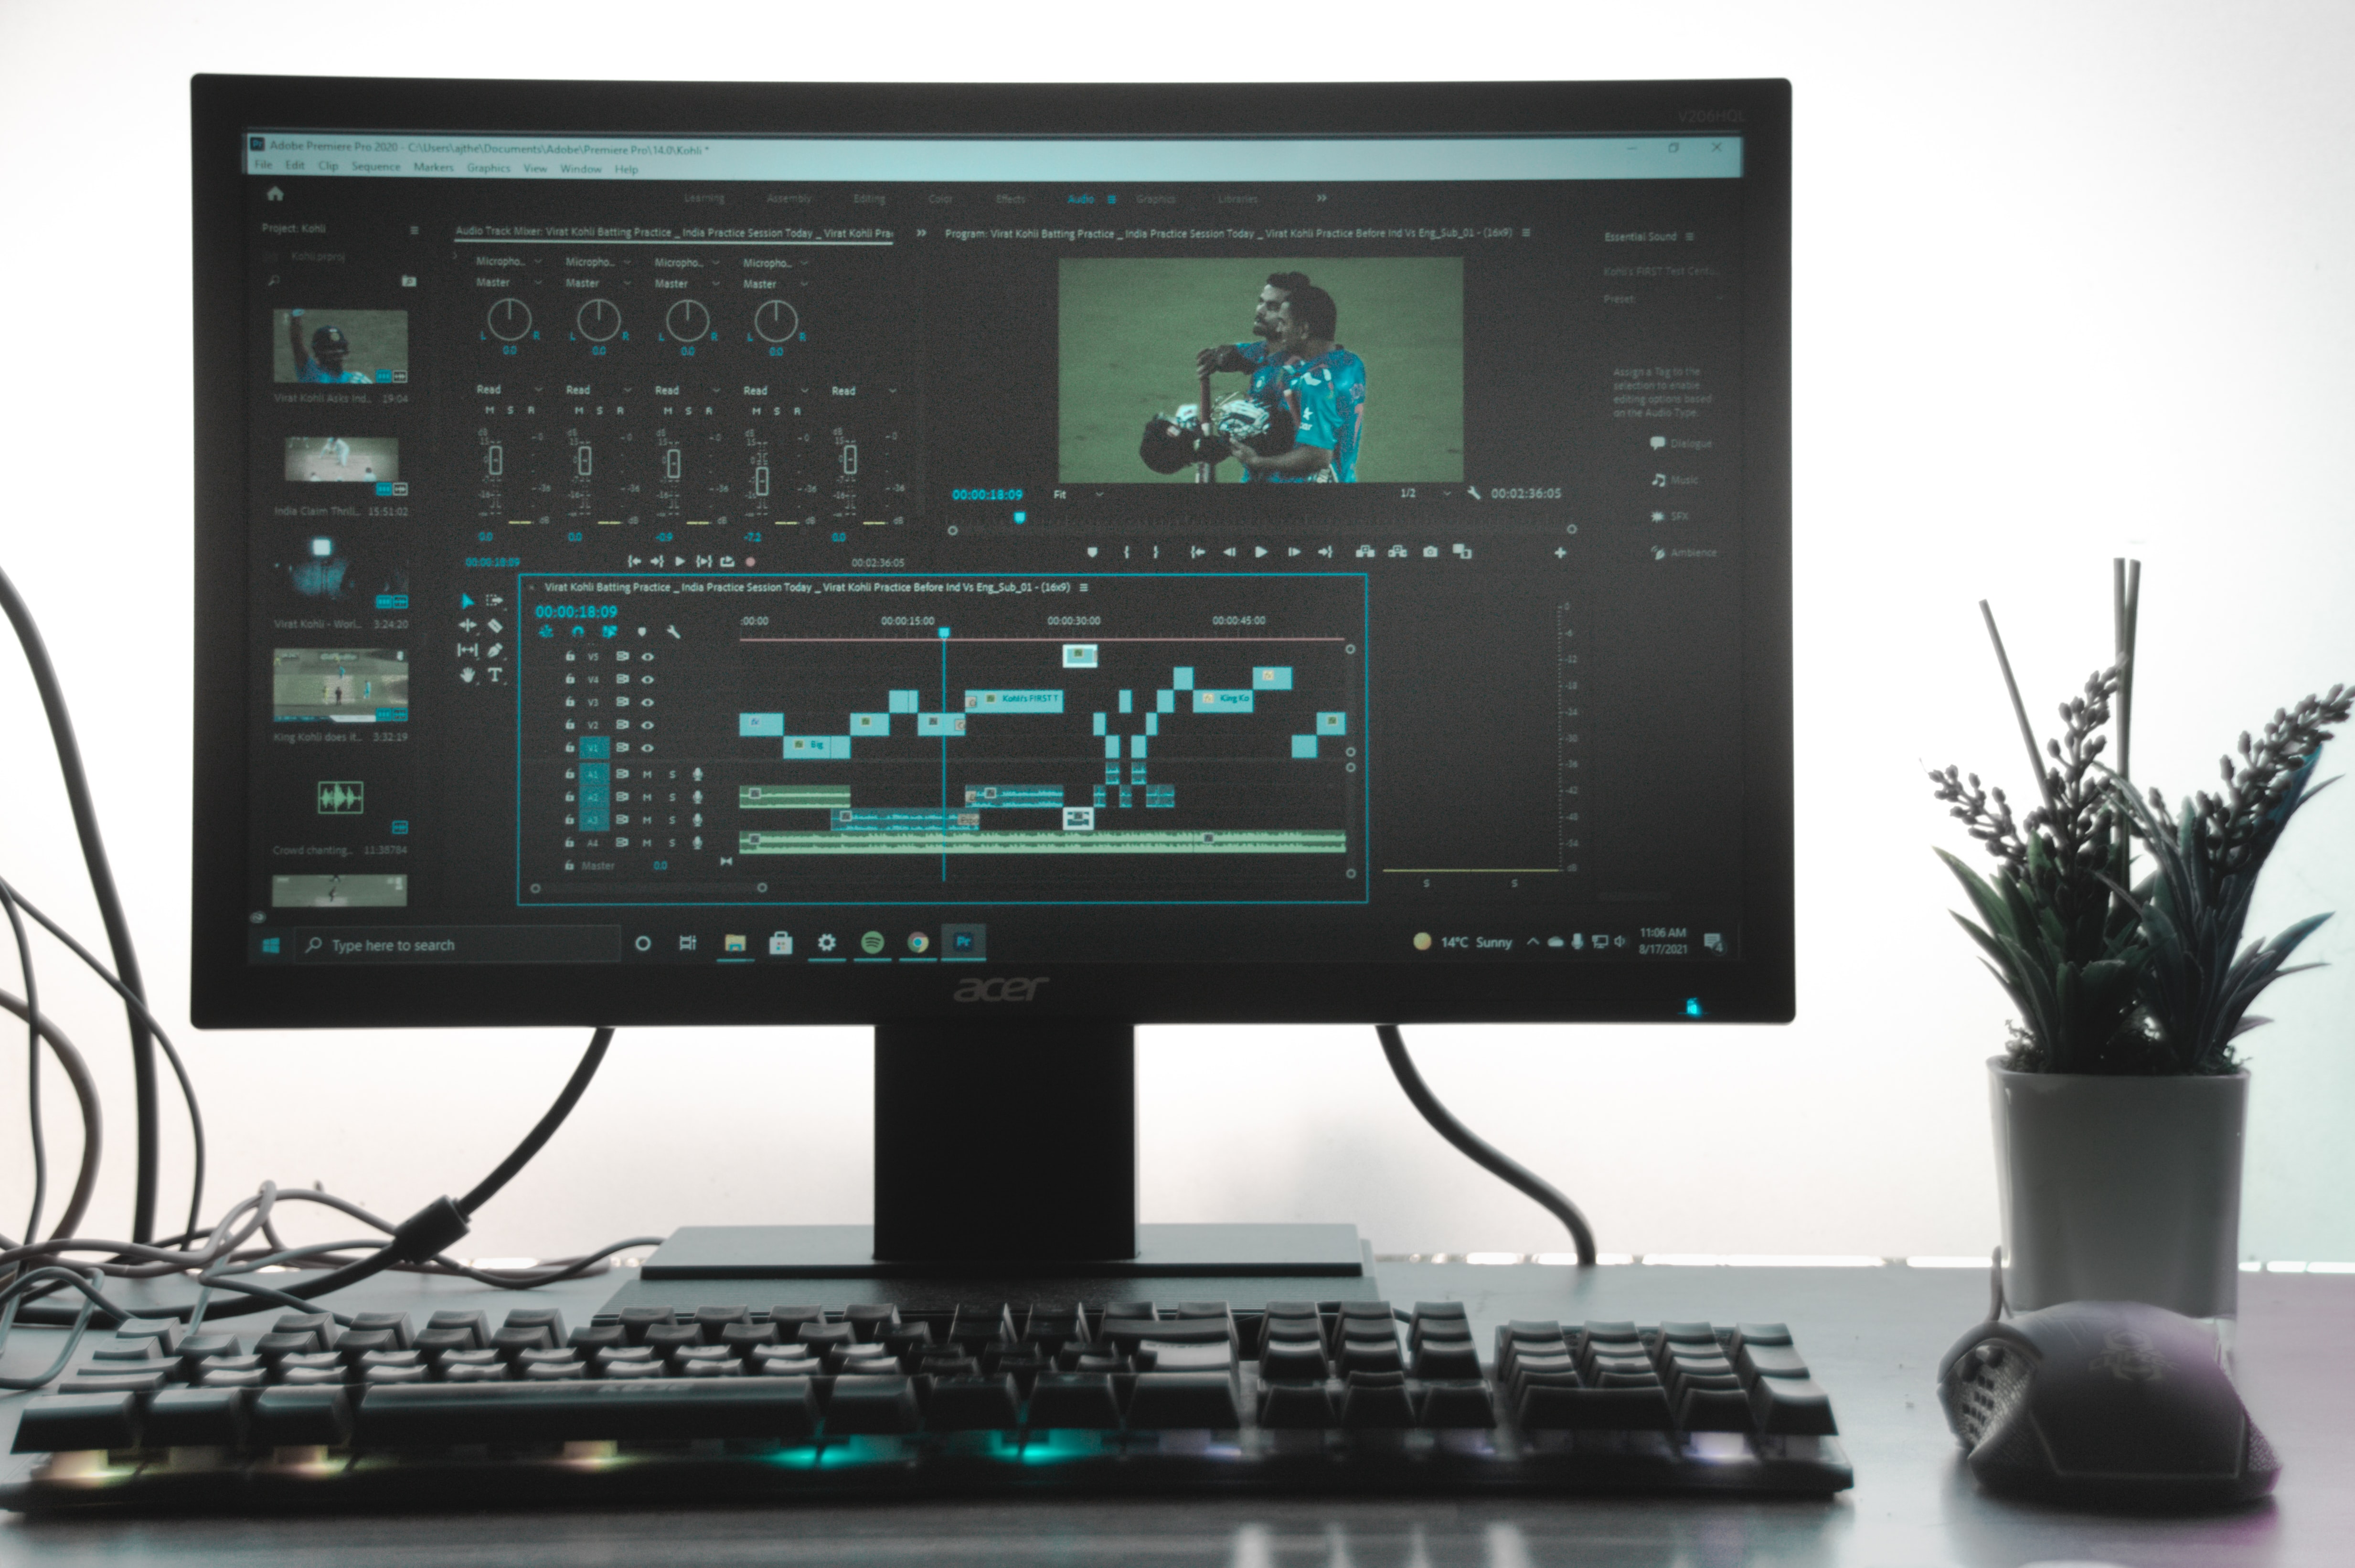
Adobe Premiere Pro is one of the most widely used video-editing programs available, and is used worldwide.

By importing your subtitle files, this software enables you to edit them, integrate them into your video project and export them.
The format of the transcriptions produced by ClosedCaptioner.com is fully compatible with this video editing software.
Follow this five-step guide to upload your transcriptions into Adobe Premiere Pro. You can then make any final adjustments you need to.
1. Get your transcriptions in a compatible format.
Various subtitle file formats can be integrated into Adobe Premiere Pro. SRT, SCC, MCC, XML and STL formats are supported by this editing software.
ClosedCaptioner.com will deliver your transcription orders in various formats compatible with Adobe Premiere Pro, but also with other video editing software, as well as the most popular content publishing platforms.

2. Import your subtitles into Adobe Premiere Pro.
To import your transcriptions into the software, follow the same procedure as for other file types.
- First, open your video project.
- Go to the navigation bar.
- Choose “Select file”, then “Import”.
- Select the file supplied by ClosedCaptioner.com and confirm the import.
If you don’t want to manage the integration of your subtitles yourself, you can ask us to burn them onto your video when you place your order.
You’ll then receive a file with permanent subtitles, embedded directly on your video.
This article will help you decide whether inlay subtitles or SRT subtitles are the best option for your needs.
3. Activate subtitle display
You can display your subtitles in the Source and Program Monitors by following these four easy steps.
- 1) At the bottom right of the monitor, click on the “+” to open the button editor.
- 2) Select the “Display captions” button.
- 3) Drag it to the button bar.
- 4) Activate or deactivate the display of captions on monitors by simply clicking on the button you’ve just added to the bar.
If you prefer, you can also program a keyboard shortcut to manage subtitle display on monitors.
4. Complete the adjustment of your subtitles.
Even though ClosedCaptioner.com is constantly innovating to optimize the accuracy of the transcriptions delivered to you, you may wish to make certain modifications or customizations to your subtitles.

By going to the “Captions” panel, Adobe Premiere Pro will allow you to make the following changes if you wish:
- Make small changes to subtitle content;
- Adjust sections of the timeline that don’t quite fit;
- Change text alignment;
- Choose a different lettering style;
- Select a different color;
- Etc.
5. Export your subtitled project.
Once you’ve finalized the changes to be made to your subtitling, you can export the desired sequence. To do this:
- Select your subtitle file in the editing sequence;
- Go to the navigation bar;
- Follow the “File” options, then “Export” and finally “Media”.
You will then have access to three export options:
- Creation of an attachment file;
- Embed subtitles in the video;
- Embed subtitles in the output file.
To complete subtitle export, you must:
- Select the option that best suits your needs;
- Choose a file format;
- Confirm export by clicking on “Export”.
For those in the know, this process is pretty straightforward, but if you’re not familiar with Adobe Premiere Pro software, this process of integrating and modifying subtitles can be very time-consuming and frustrating for you or your team.
ClosedCaptioner.com is here to make your life easier, so that you can devote your time and energy to maximizing your potential. We’ll take care of the technicalities.


David Grégoire
David (AKA Monsieur eCommerce) est un multi-entrepreneur. Il dédie 90% de son temps à développer SousTitreur.com - une startup qu'il a « bootstraped » et qui est dédié à un succès international.